Solving an old problemEver since I started this blog 6 years ago, I didn't just want to share problems or issues at airports, but I also wanted to find a way of solving them. One of the biggest problems I have time and time again is getting my salai through my hand luggage and it's something that I finally decided to try and rectify by designing a travel friendly salai. You can purchase one of these salais here, or, if you want to save money or design your own, read this article to find out how to make one yourself. Getting the design rightFor me there were two problems I wanted to solve; (1) design a salai that isn't considered dangerous by airport security, and (2) design a salai holder that stops salais from constantly making small puncture holes in my pocket when travelling. I decided to go for wood as the material of choice. It's strong, light, easy to shape and uses less energy in the manufacturing process than plastic. However, wood isn't as strong as metal or plastic and that's why it's important to recognise that these salais, while useful for travelling, are not designed to be used as a primary salai throughout the year. I would recommend using them during travels and short holidays only. I also can't promise that they'll all be allowed to go through airport security. Rules differ from country to country and a lot depends on the mood of the guard during the shift. But the fact that these salais aren't metal should mean they are considered less dangerous, and given they are slightly blunted at the end, are no more dangerous than chopsticks. For the salai holder, I wanted a material that was stronger than the inside of shirt and trouser pockets that are constantly punctured when holding salais. I went for cotton and chose an atlas/map design to reflect their use as a travelling salai. This was definitely the trickiest, most expensive, and most time consuming part of the process. Even after practice, I'm able to make only 2-3 in an hour from start to finish (just the holders). Much like the rest of this website, the aim here isn't to pack up my day job. I'm selling these salais as close to cost as possible, covering the purchase of the materials, the time to manufacture and the cost of shipping to make the process of going through airports less unpleasant for Sikhs. It's also the reason I'm setting out a step by step guide below so you can also make your own if you want to do that. Complete list of materials used
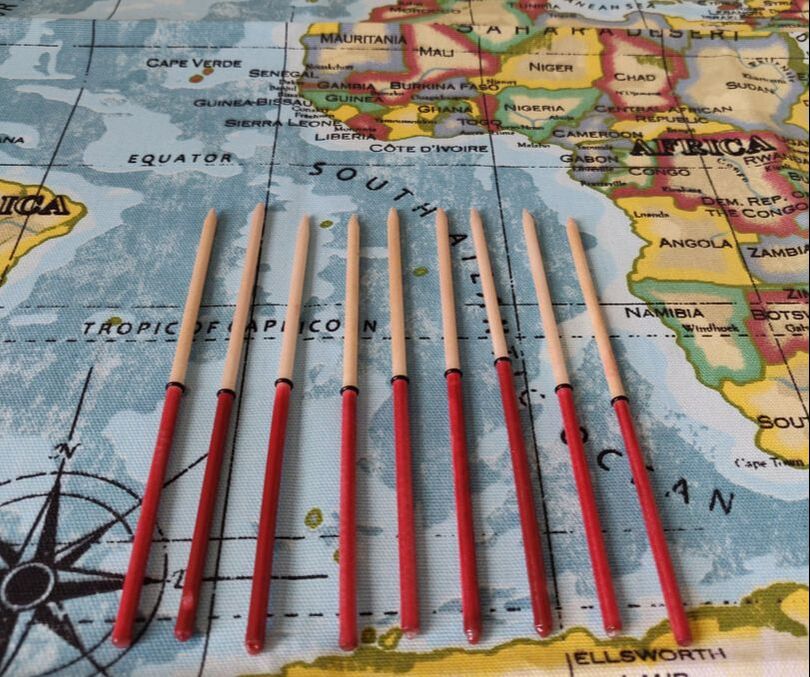
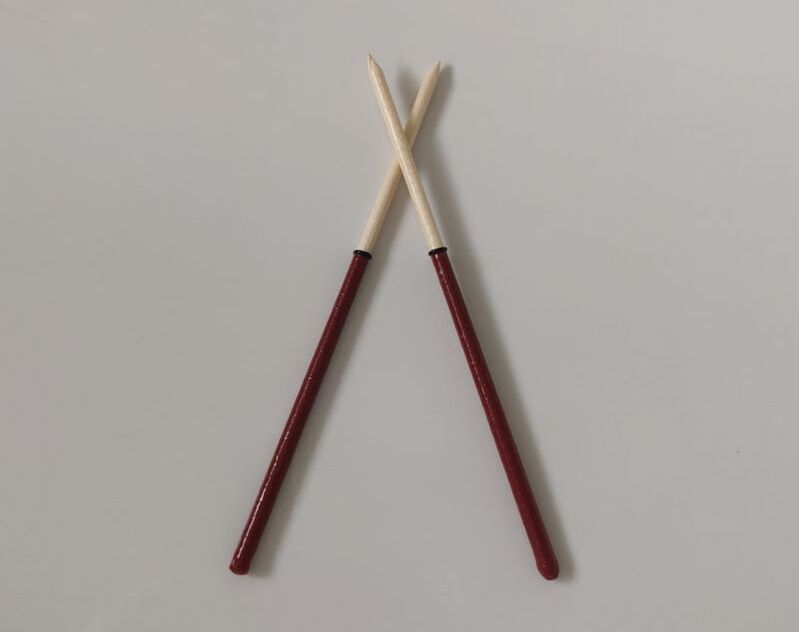
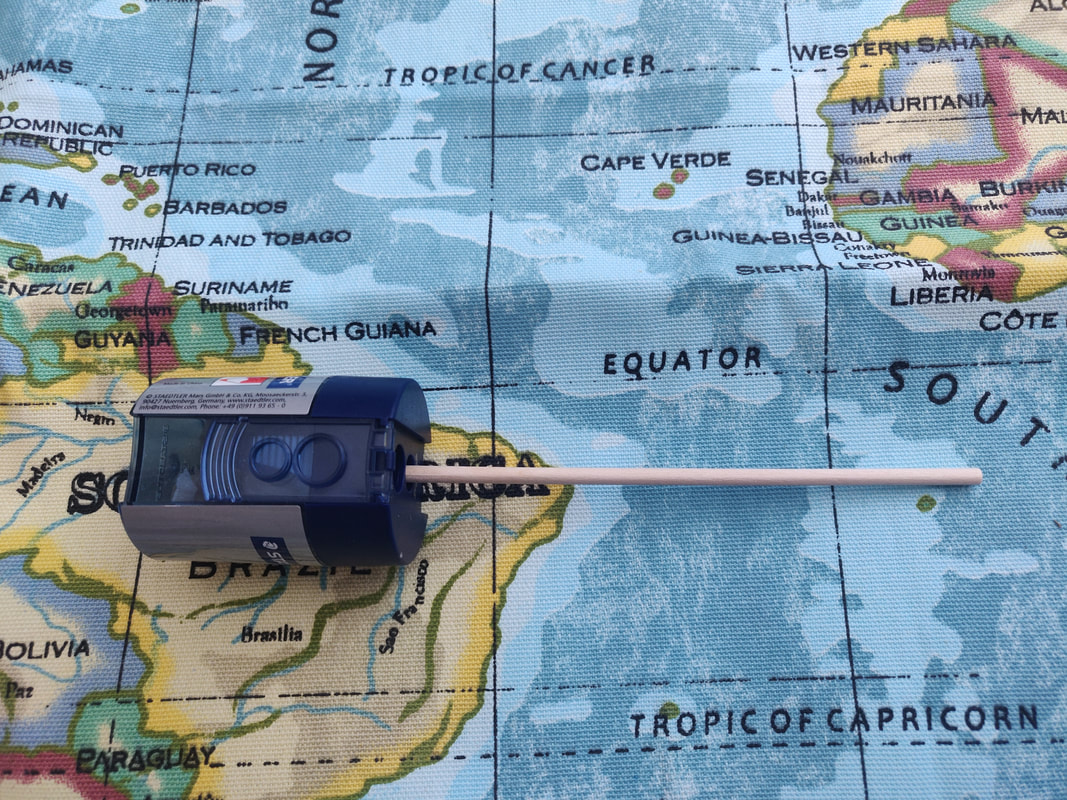
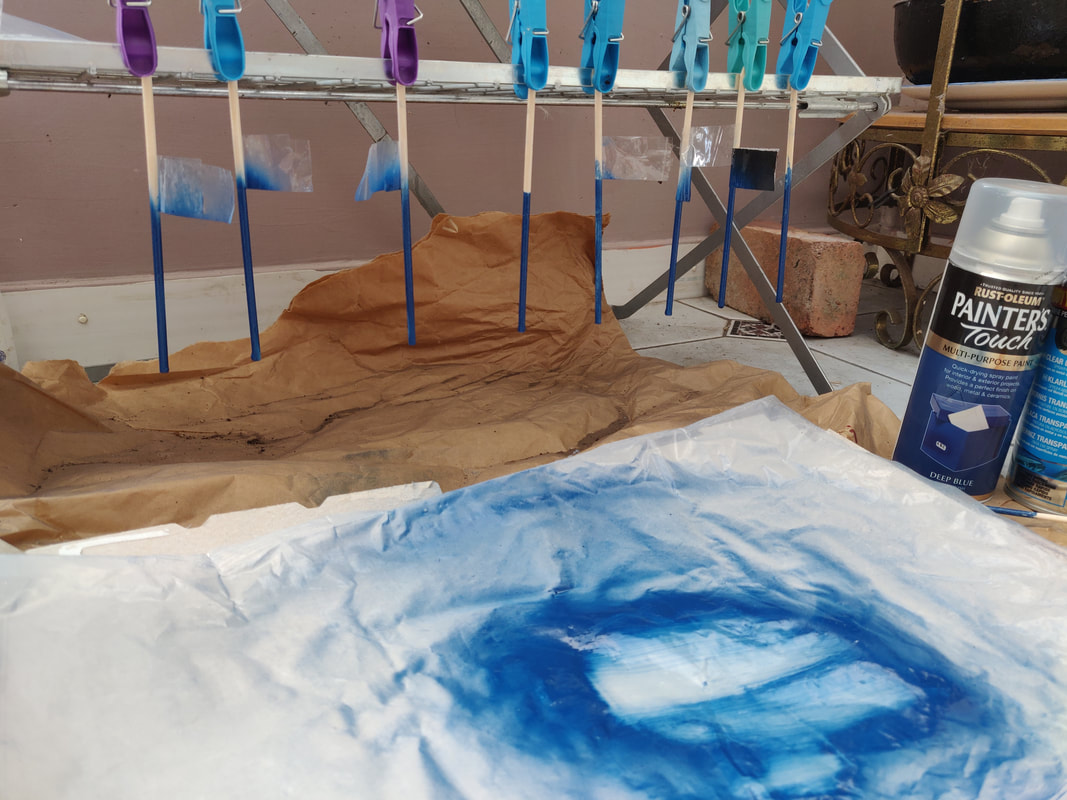
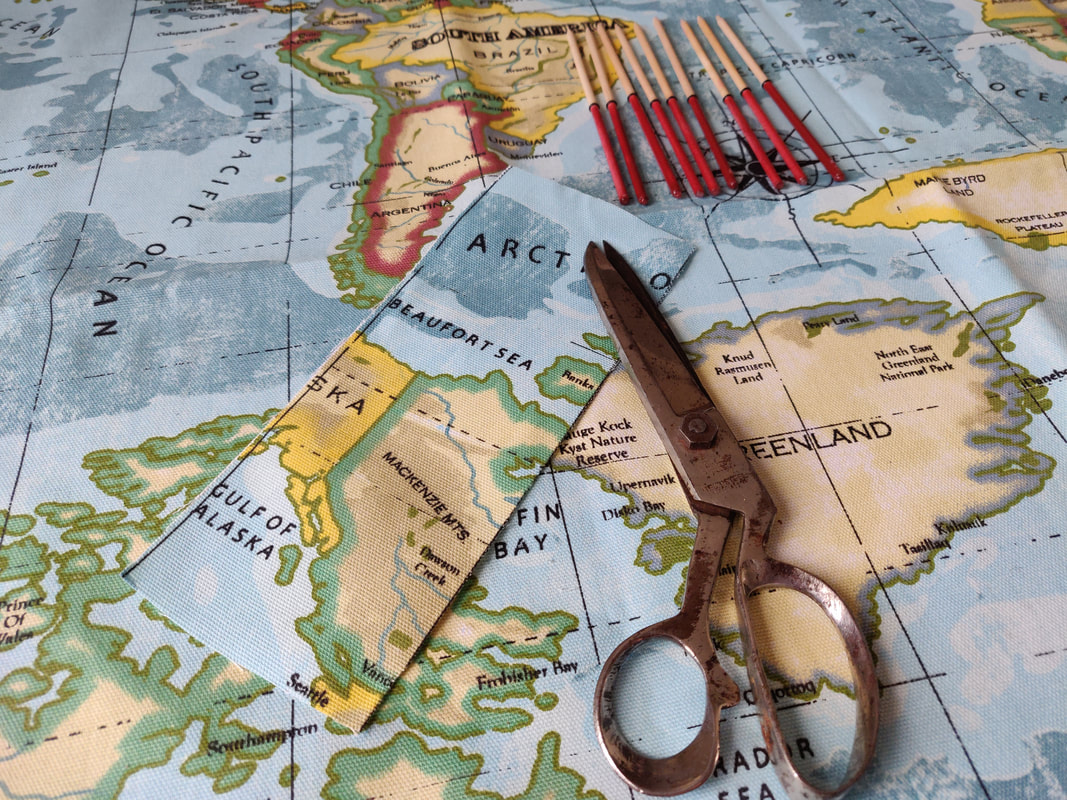
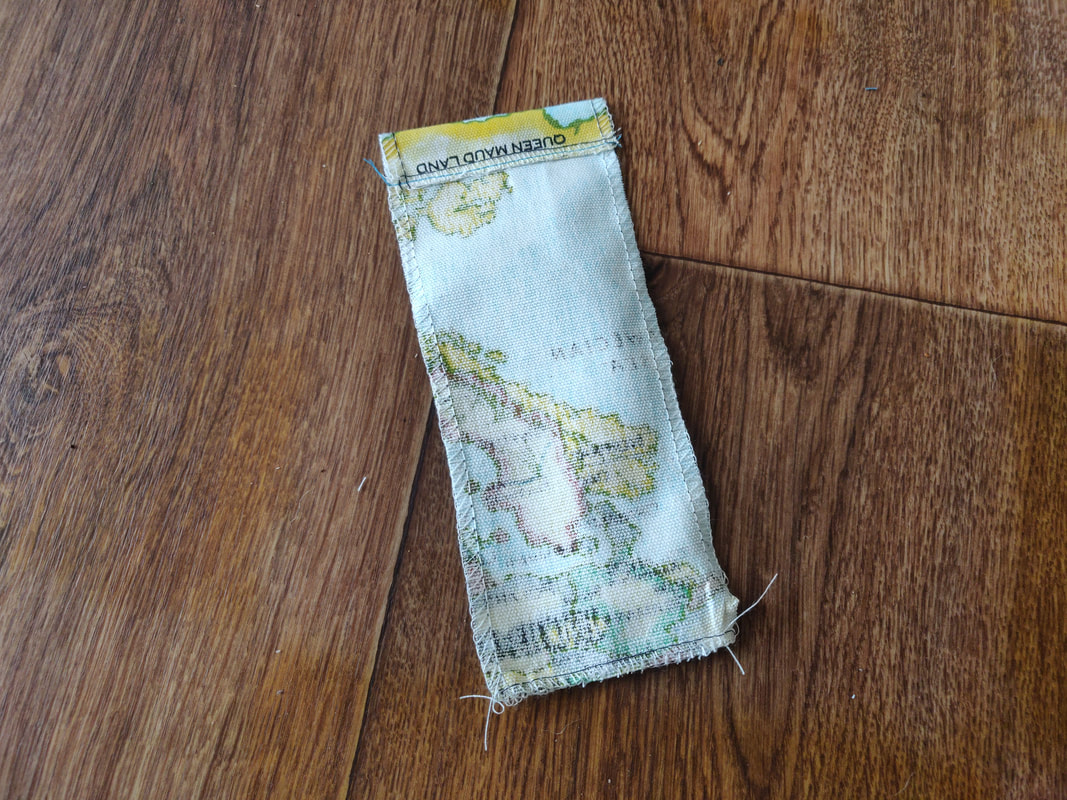
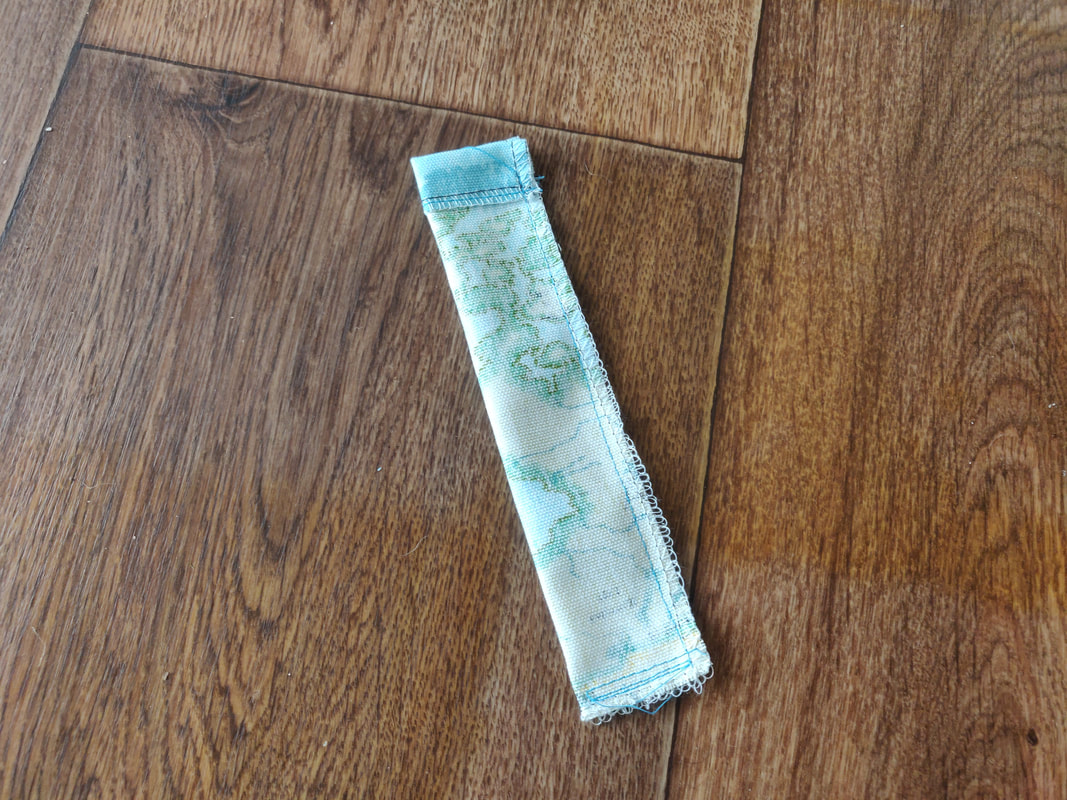
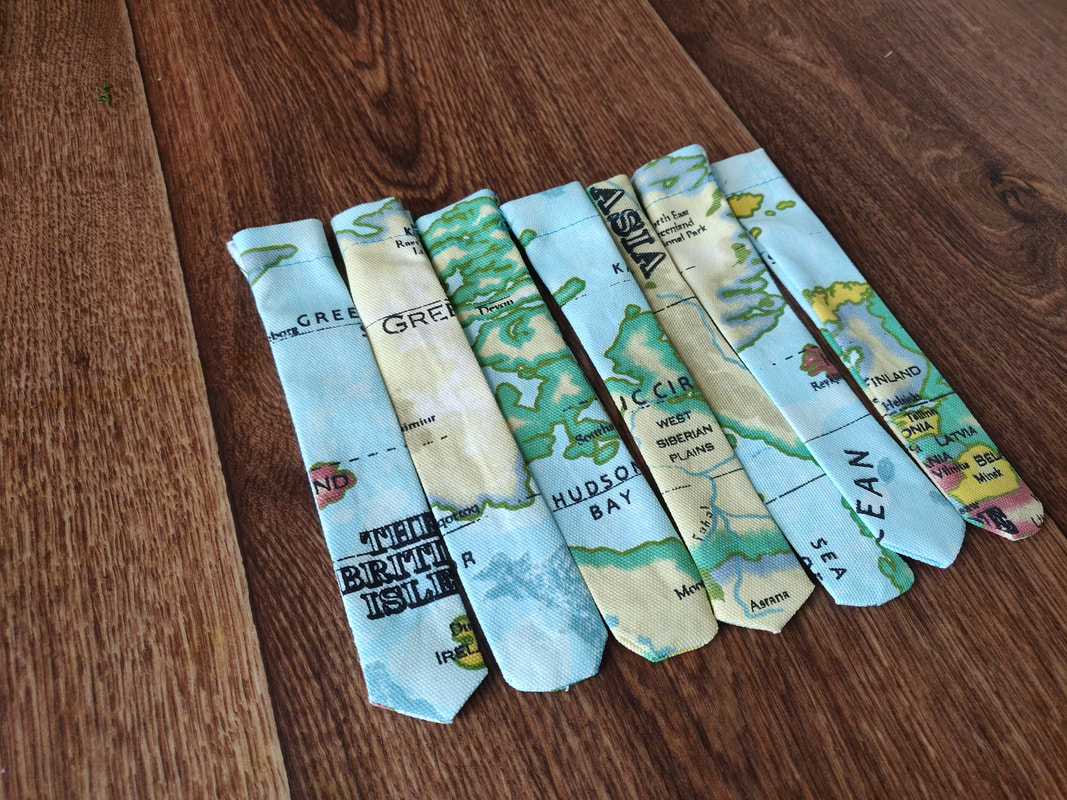
Step 1: Cut and shape wooden dowelsWooden dowels are usually used to join two different structures together, but when they are long enough, they also make a great starting point for a salai. The normal size for a salai is about 13cm, while my metal salais have a width of 3mm. Given that metal is a stronger material than wood, I went for a slightly thicker dowel size to make sure the salai had the strength to hold up over repeated use. However, a dowel that is too thick won't fit underneath patkas and dastaars. After a little trial and error, I found 4mm to be the perfect width. After I cut the dowels down to size, slightly longer than the average metal salai at 15cm. This provides the foundation shape for a salai, but being blunt on both edges means the dowel is still not able to tuck hair in. The next part of the first step is to shape the dowel into a salai, and a combination of a pencil sharpener and a small knife can be used for shaping. I found a normal pencil sharpener to be pretty much perfect, easily and evenly shaping one side of the dowel into the sharper end of the salai. You can use a small knife (carefully) to make sure the shape is even and consistent all the way across. Step 2: Paint, add seals and varnishWith the dowels cut to size and shaped into a salai, the next step is to start painting. I had a tub of paint used for painting fences, a deep red that is almost maroon. I found I got the best results by dipping the salai into the paint tub to make sure I got an even amount of paint across the salai. Deciding how high to paint the salai is also an important decision that required trial and error. for me You don't want the paint to be so high that any seals get caught under a dastaar or patka, but if you cut it too low, the tendency to hold the salai lower means that the salai feels a little less strong. It took 4 batches to find the perfect length of paint, three quarters of the way up the salai. You should let the paint dry for half a day before adding a second layer to ensure the paint doesn't scrape off easily and to give the handle of the salai a little more strength. It's important to let the paint thoroughly dry in between coats to get the best feel and coverage. Finally, with the paint dry you can varnish the entire salai - doing the bottom half and hanging it up to dry using some pegs overnight - before doing the top half the following day. It's really important to let the varnish dry before doing the other side as damp varnish can easily damage. During the varnishing process it's important to keep wiping the ends regularly to stop the varnish forming a big bubble at either the top of bottom (depending on which side you're drying). Step 3: Cut fabric to sizeWhile the construction of the salai is relatively straight forward, manufacturing the salai holder is much tougher. I chose a cotton fabric for its strength and flexibility with an atlas/map design in line with its use as a travelling salai holder. I used a salai as a base for measurement before drawing up a rectangle big enough to hold two salais after the cloth is folded. I found that having the length three times the length of the width was perfect and so each rectangle was 21cm in length and 7.5cm wide. Step 4: Edge fabric and fold for drawstringTo stop the sides from fraying I then edged around the side of the entire rectangle. As a single parent, my mom worked a lot of jobs when I was growing up, and one of them was in a sewing factory, so I was grateful for her experience to show me what to do here. Next is to fold down a small section at the top of the salai, about 2.5cm and then sew this shut onto the inside of the fabric. The length of the fabric should now be about 18cm. Step 5: Sew fabric into shape and straightenAt this point the fabric is folded in half across its length. It's important to make the fold inside out (with the inside of the fabric showing) to ensure any stitching is hidden inside. After folding the fabric, you can sew the two sides together, ensuring you stop at the bottom of the 2.5 cm fold you made earlier - these holes will be used for the drawstring cord. With the holder sewn together, the next job is to turn the salai holder back into its correct position (it should be inside out at this point). This can be tricky and more than a little frustrating but with a bit of patience and a fair bit of time, you should be able to turn the fabric so that the stitching is moved to the inside and your pattern comes to the outside. Step 6: Thread drawstring and add stopperThe final part is cutting the drawstring and threading it through the small fold you made in the previous step. I found a length of 6cm to be perfect - too short and it becomes too difficult to open the holder, too long and it ruins the aesthetic of the holder. Threading it through the small holes is the second exercise of patience as again, it's tricky and can take a while. I found a cord width of 3mm is perfect for strength and flexibility. Finally, you put both ends of the drawstring through the stopper and tie two knots at the end of each side of the drawstring to form a bookend which keeps the stopper in place. This will give you the mechanism of opening and closing the drawstring. And there you have it, your very own travel friendly salai and salai holder. If you don't fancy making one yourself, you can always purchase some from the travel shop here. The last step for me is shipping, which isn't cheap and easy, particularly international shipping. Each salai (and holder) is packed in an envelope and stamped to be sent. Given the cost of shipping, the initial run is limited to the UK. Comments are closed.
|
AuthorBritish Sikh, born in the Midlands, based in London, travelling the world seeing new cultures. Archives
September 2023
Categories
All
|
Photos from Johnny Silvercloud, Nina A. J. G., Michael Vadon, jcorrius, mikecogh

 RSS Feed